
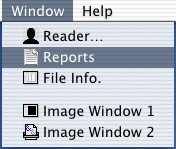
 Madena 2.x provides three printable documents: Image, Report, Profile and File Info. To view and/or print an image or report, select Reports from the Window menu and then click the Image button in the toolbar at the top of the reports preview window. If you have more than one image window open, the image(s) that will be printed are indicated by the "Print Image Window" buttons in the tool bar. Images being printed are also marked with a printer icon in the Window menu. To add additional images or to remove an image, click one or more of the "Print Image Window" buttons in the toolbar or select an image window from the Window menu. Whatever is currently displayed in each image window is what can be printed, including fused images, regions, measurement tools, isodensity contours etc... The actual items which will be printed are selected in the Documents tab of Madena's Preferences dialog. For instance, you could elect to print only the isodensity contours and measurement tools but not the image pixels. This can be useful for comparing isodensity contours from two images.
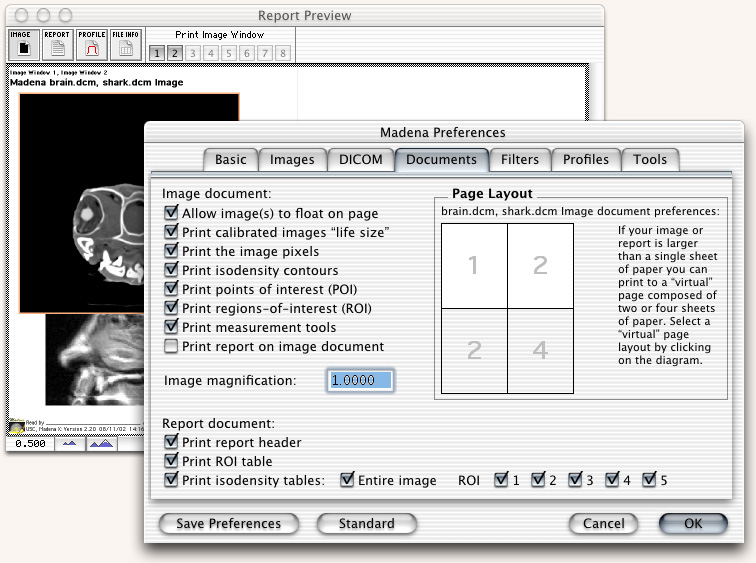
You also set printing magnification and many other options in preferences. (Tip: double clicking anywhere in the document preview window outside of an image bounds will invoke the preferences dialog). If the image you want to print has been calibrated, enabling Print calibrated images "life size" and choosing a magnification of 1.0 will print your image at 1:1 scale, ie 1 cm in the image will print as 1 cm on the paper. To enlarge an image to overlay on a radiographic film, set the print magnification equal to the radiograph magnification. If your image has not been calibrated or you disable "life-size" printing, the image will be printed at the default resolution of your printer (about 72 dpi) divided by the preferences magnification factor.
Madena prints to a single sheet of paper, or to a "virtual page" composed of 2 or 4 physical sheets of paper. If floating images are enabled in the preferences dialog, you can move each image on the preview page by clicking on it to select it (the selected image will have an orange border) and then dragging it to the desired location. If floating images are disabled, every image is forced to align with its top-left edge at the top-left corner of the top-left sheet. You can use the Arrange menu to change the "front-to-back" order in which images are drawn and to lock the position of a floating image.
ROI and isodensity area counts are normally printed on the Report document. The pixel density profile under a line defined by the measuring tools is displayed and printed in the Profile document. To display ROI and isodensity data below an image on the Image document you must enable the Print report on image document checkbox in the preferences dialog. Whichever document is being displayed in the print preview window is what will be printed when you select Print from the File menu.
The example below illustrates two images being printed on a virtual page consisting of two sheets of paper. The shark head CT is currently "selected" (this CT image of a very small shark was used for the imaging special effects in the recent SciFi movie "Deep Blue Sea").
Measured pixel density profiles are plotted in the Profile document. A measurement tool must be enabled in order to display its profile. Profile plot parameters which apply universally are set in preferences, image specific parameters, such as density range and distance units (cm or pixels) are set in the image window "window & level" and "calibrate" dialogs respectively.