Mapping a Fundus Collage onto the Retinal Diagram
|
|
|
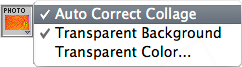
- Auto Correct Collage - when enabled, the fundus collage is circumferentially warped to display correctly on the retinal diagram.
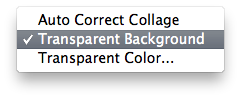
- Transparent Background - makes fundus collage pixels of the selected color (e.g. black) transparent when drawing upon, or texturing 2D and 3D surfaces.
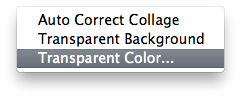
- Transparent Color... - opens a dialog to select the background color of the fundus collage to be transparent, pure black by default.
|
|
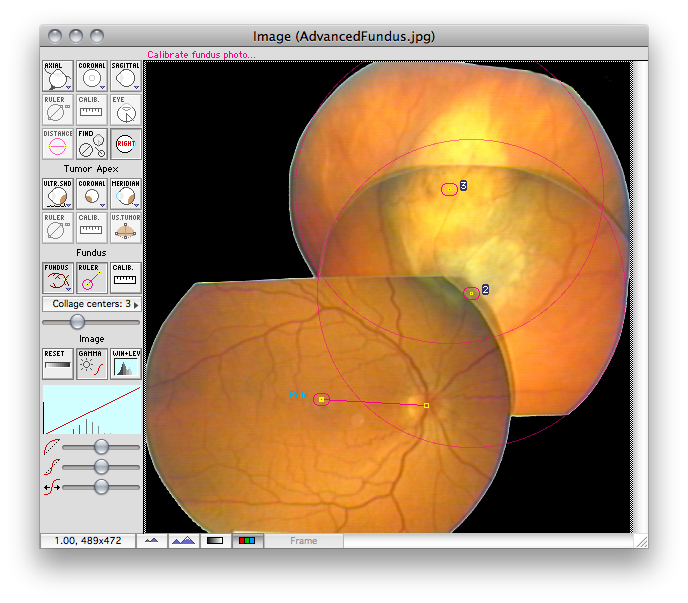
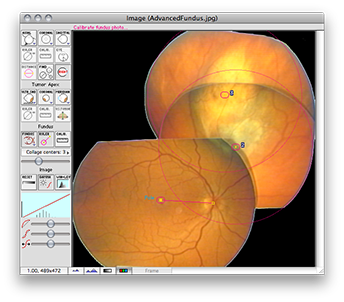
- In the Image Window open a fundus image collage. For best results, the image should be no more than about 800x800 pixels and the background color of the collage should be black as illustrated. The fundus collage can be prepared by hand using printed images (such as the very old example collage shown here) or, more commonly, from digitized images using a program like Adobe Photoshop. Many fundus cameras now provide digital collages.
- Using the fundus ruler tool, mark the posterior pole, the optic disc, and the centers of the individual photos that make up the collage. It is important to mark the image centers so that PS can estimate which pixels in the collage are associated with which image when mapping collage pixels to 3D and polar map coordinates. The circumferential warping of the pixels of an individual fundus image is small because the cameras have a narrow field of view, but the warping required when mapping onto a retinal diagram can become large when the images composing the collage are of the equatorial region and anterior hemisphere of the eye.
|
|
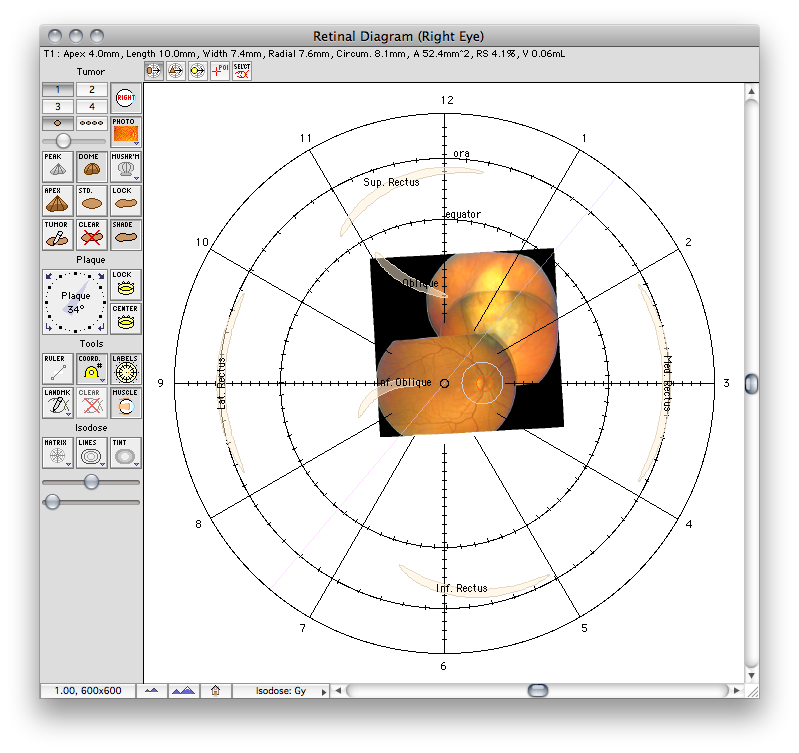
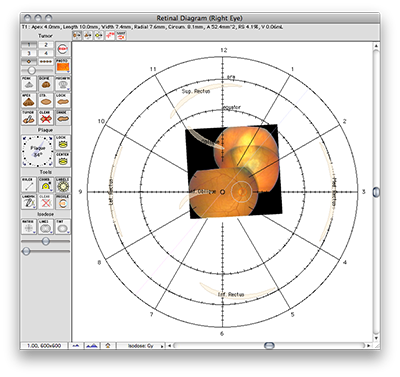
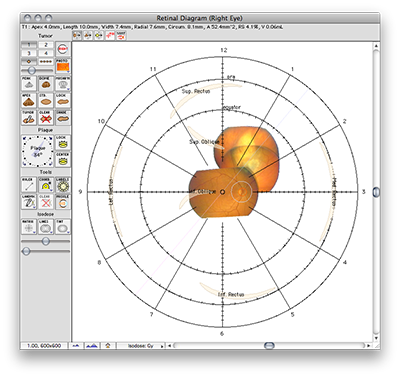
- If the collage has been properly prepared and calibrated, it should initially project onto the retinal diagram as illustrated here.
- If the background color is not black, use the Photo button popup menu item Transparent Color... to select the background color of the fundus collage to become transparent.
|
|
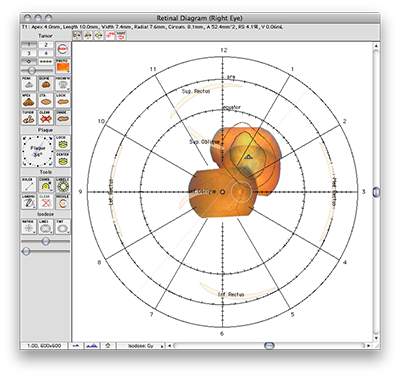
- From the Photo button popup menu, enable Transparent Background. The black portion of the collage should become transparent.
|
|
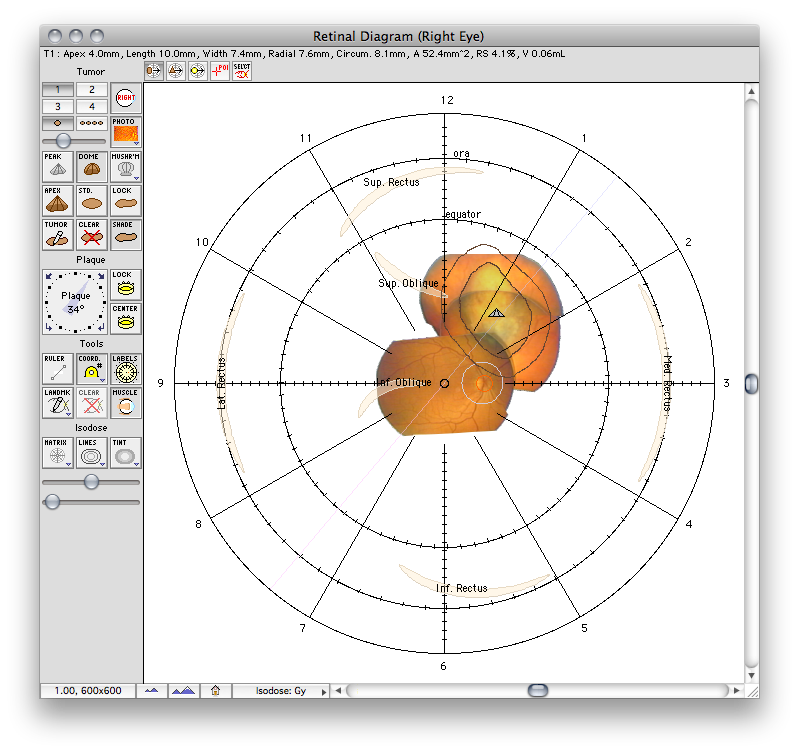
- For best results, check that Auto Correct Tumor in the Diagram menu is enabled and then digitize the tumor perimeter using the collage as-is. After the tumor perimeter is complete, PS will apply the necessary circumferential warping of the tumor perimeter.
- The tumor perimeter will no longer match the underlying collage!
- After digitizing the tumor PS will offer to warp the collage, or, from the Photo button popup menu, manually enable Auto Correct Collage.
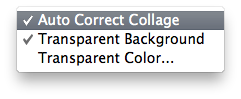
- PS will now circumferentially warp the pixels of the collage. The digitized tumor perimeter should now better match the underlying image.
- PS defaults to digitizing the tumor prior to warping the collage pixels so as to have the best possible image quality while digitizing the tumor perimeter.
- It is allowable to warp the collage first and then digitize the tumor by disabling Auto Correct Tumor in the Diagram menu prior to digitizing the tumor perimeter.
|
Diagram Window |
Diagram Menu |
Image Window |
Guide Contents